My design says I can make a bowl from a board 48"
long x 5-3/4" wide x 3/4" thick. One end of this board has a big
unusable knothole in it, so I cut off that end of the board.
|
I ripped the two boards for my two compound-mitered segment
rings. The board for my top ring is 28" long x 2-1/2" wide. The board
for my bottom ring is 28" long x 3-1/8" wide.
|
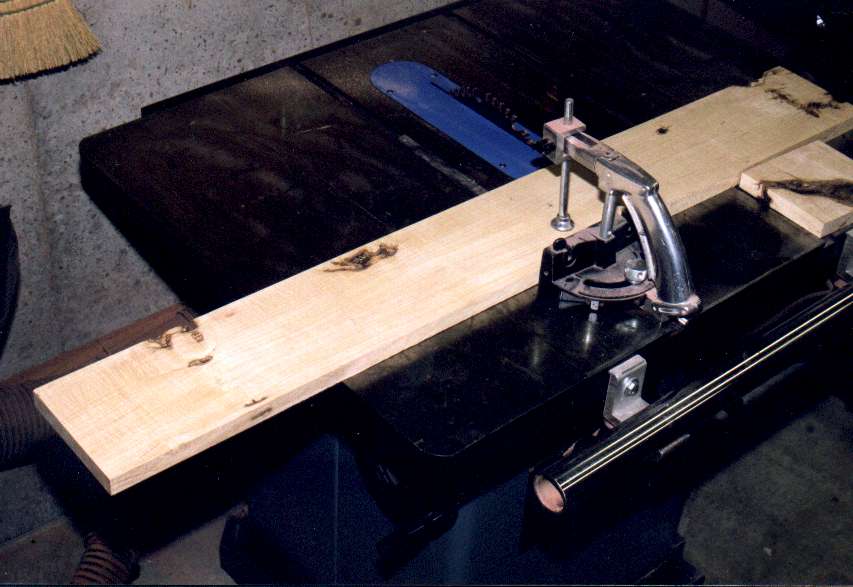
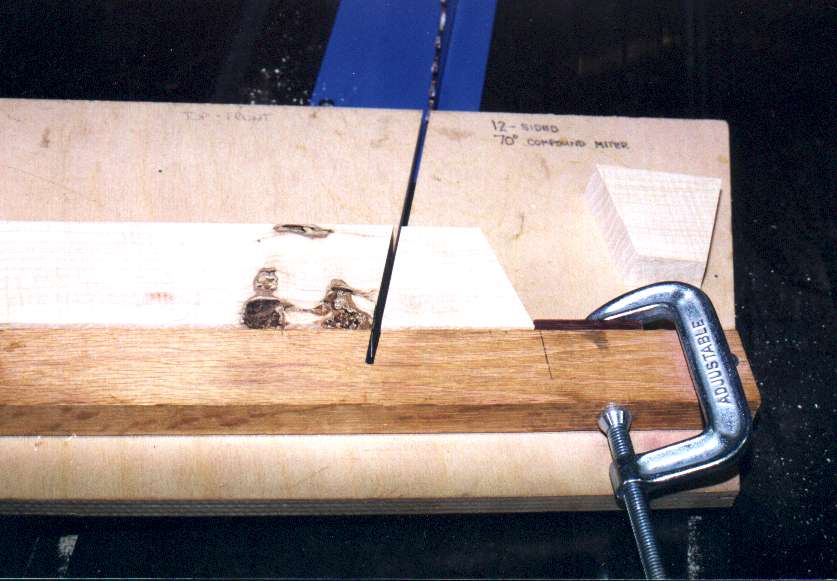
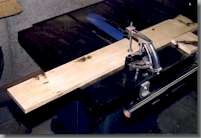
One of the boards is on my compound miter sled. I am cutting
the segments for a 12-sided, 70-degree incline angle, 10 " diameter
ring. Note the C-clamp stop.
|

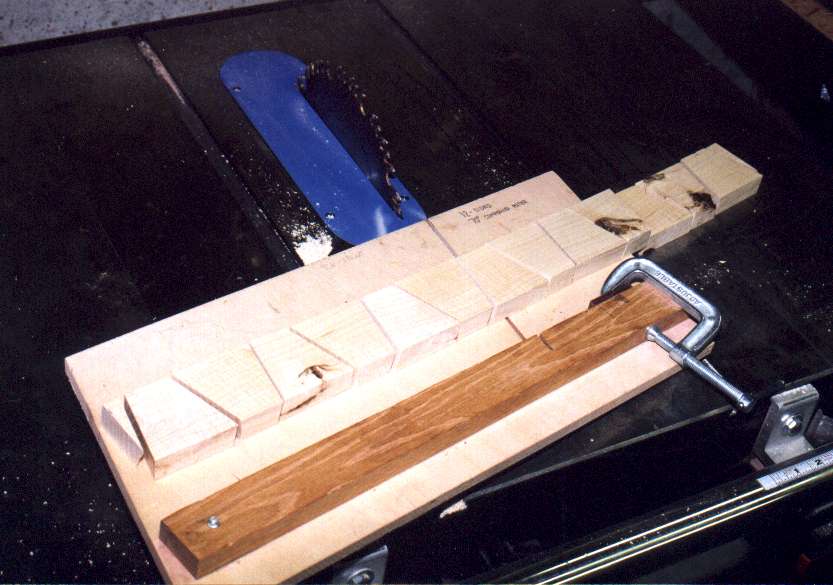
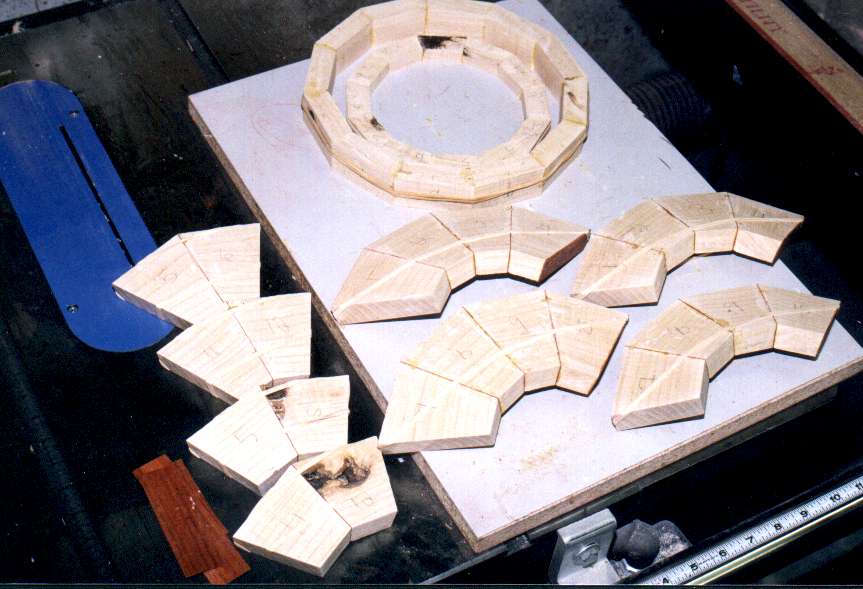
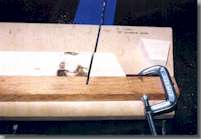
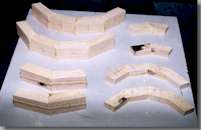
The 12 segments for one compound mitered ring are cut out. The
segments are cut consecutively from the board, just like it appears in
the photo. For illustration, I have reassembled the cut pieces into the
board.
|
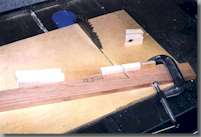
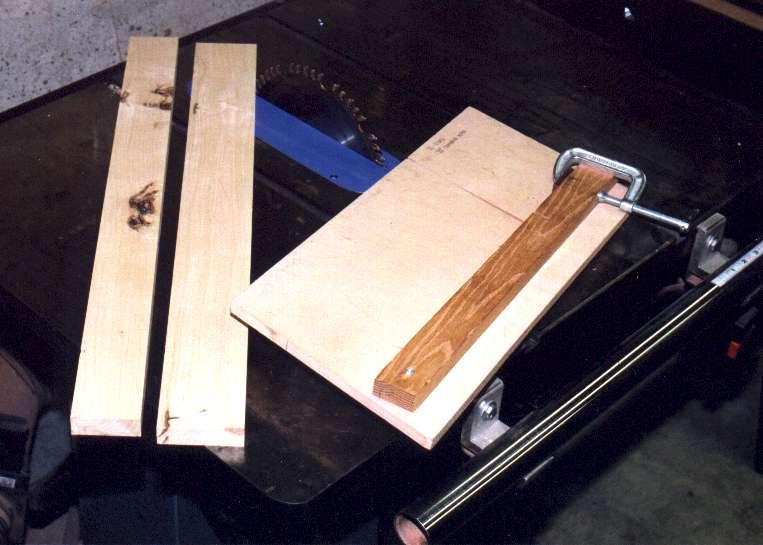
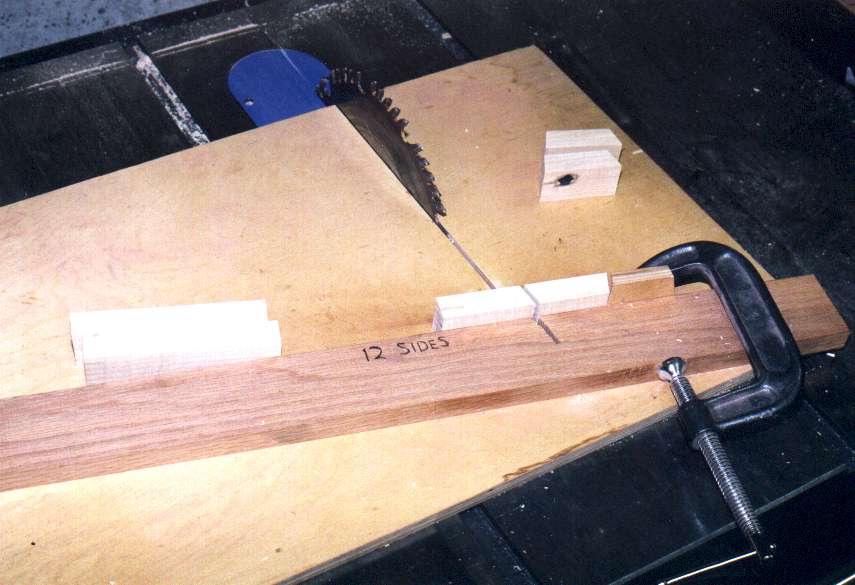
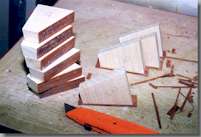
I am now cutting out the flat mitered segments for the bowl's
central ring. The photo shows my flat miter sled. The sled fence is set
for a 12-sided ring.
|
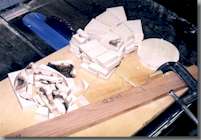
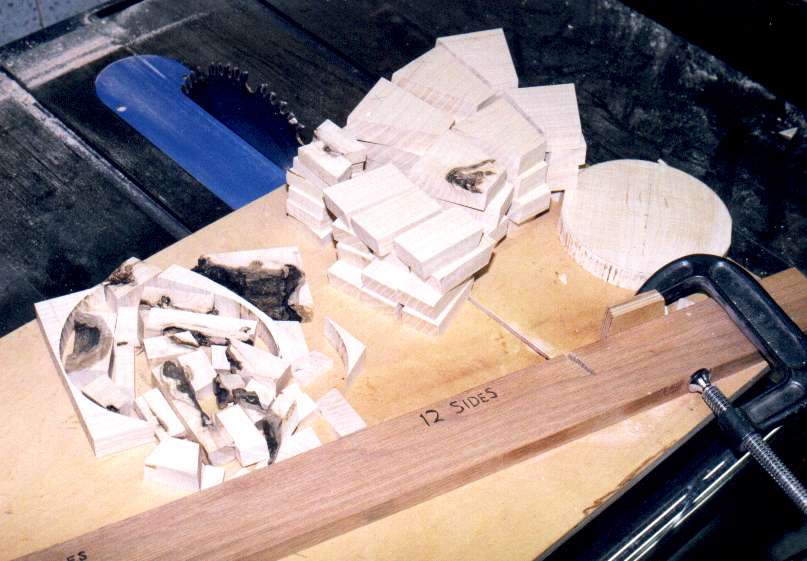
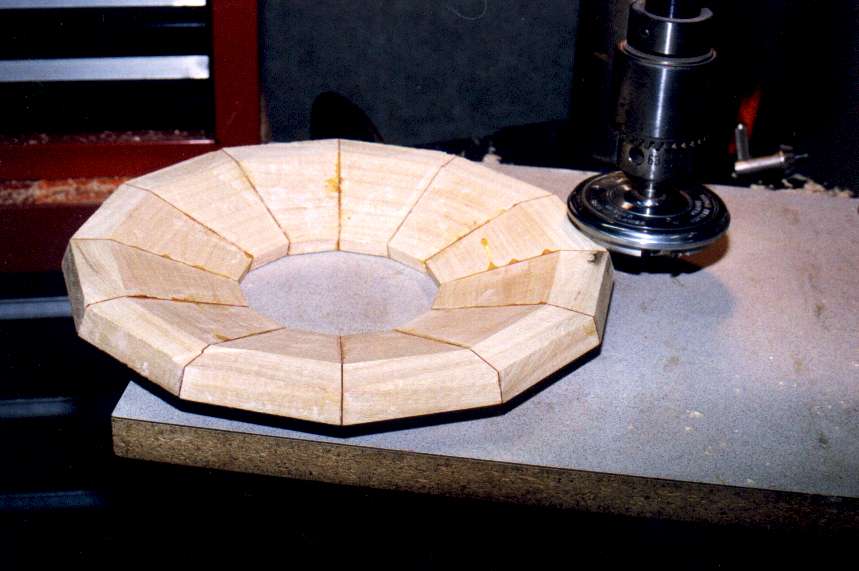
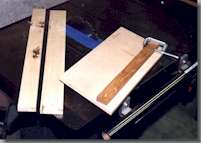
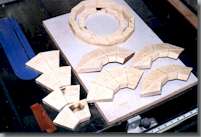
All the bowl's segments are now cut. There are two compound
mitered rings for the bowl's top and bottom, two flat mitered rings for
the bowl central ring and lip ring, a base disk, and the leftover board
scrap. Not much usable scrap!
|
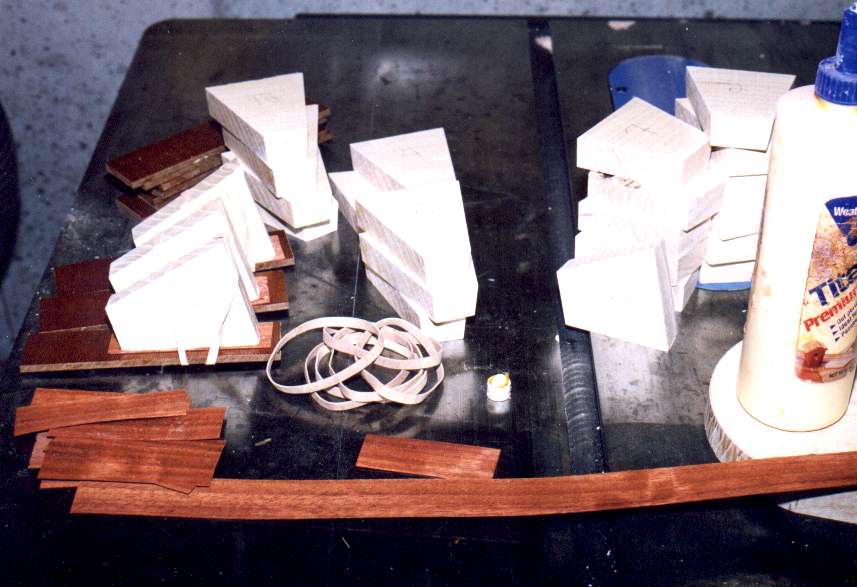
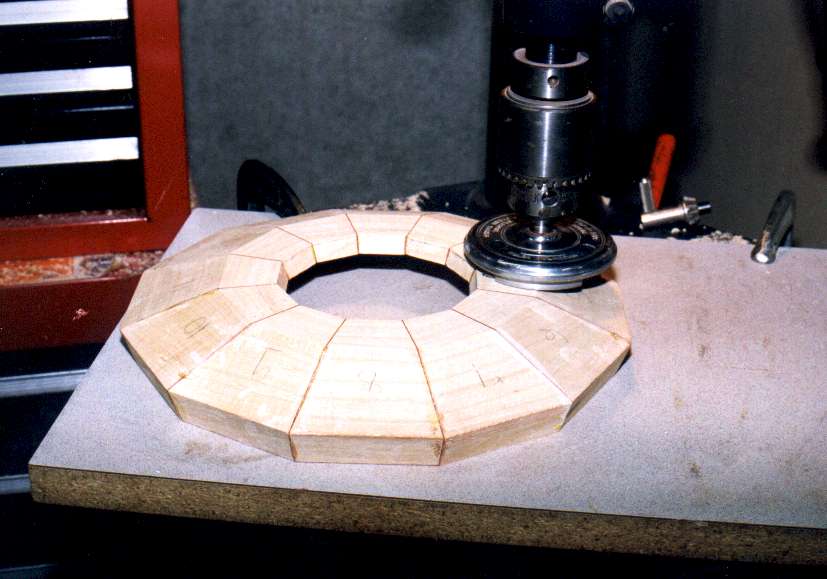
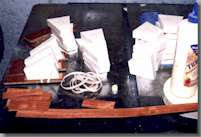
I am gluing together the segments for the central ring and the
lip ring. I use rubber bands to hold pairs of segments together. I
don't use anything to clamp pairs of glued pairs together, just
Titebond II glue. With a little glue between the segments, I rub the
segments together and carefully set the segments down on the sink
cutout.
|
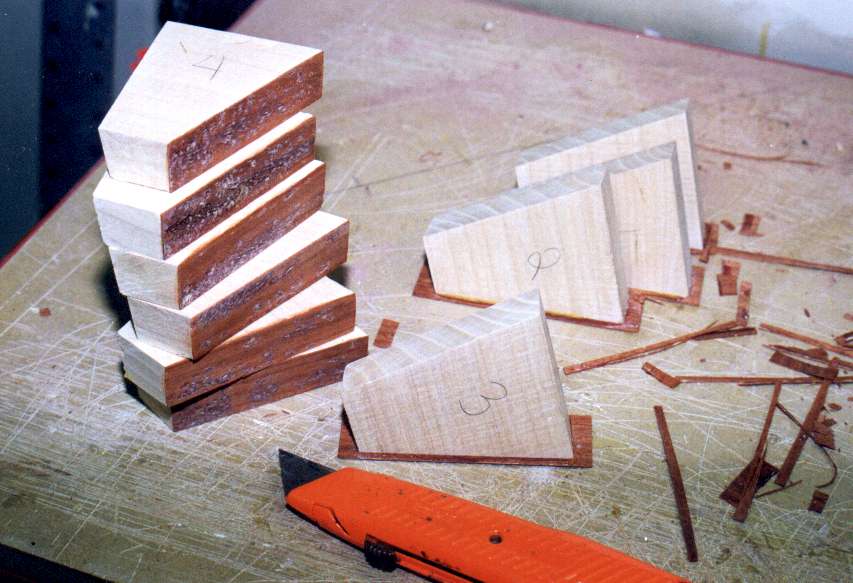
This photo shows padauk veneer being glued to the compound
mitered segments. I rubber-band the segments to a plastic block to keep
the veneer flat while the glue dries. Glue doesn't stick to the plastic
block.
|
This is the veneer trimming operation. All of the compound
mitered segments have padauk veneer between them. Adding veneer doubles
or triples the time it takes to construct a bowl, but I think it's
worth it. Sometimes I'll glue several layers of veneer between segments.
|
Now I'm gluing the compound-mitered segments together to form
the bowl's top and bottom rings. The central ring and the lip ring are
finished.
|
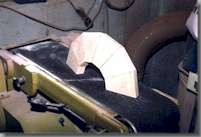
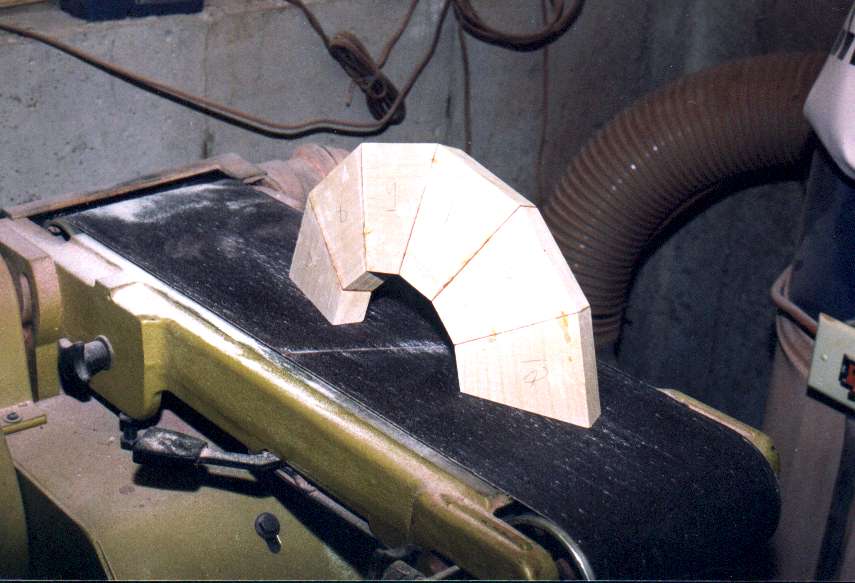
To make the rings come out perfectly, I make half-circle
rings, then sand the butts flat. The two half-rings will fit together
perfectly using this method. I use a 12" disk sander for small rings
and a 6"x48" belt sander for big ones.
|
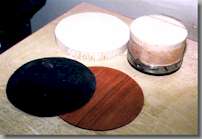
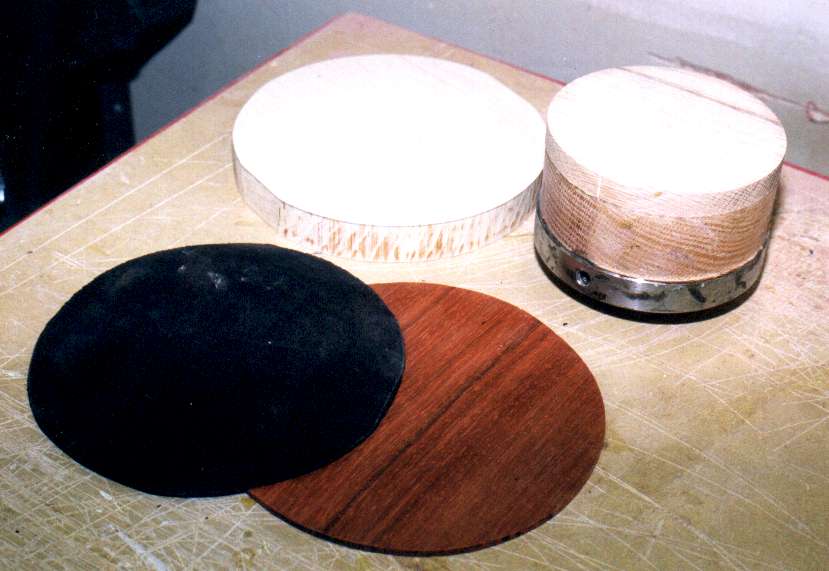
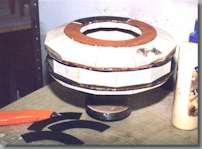
I use a faceplate with a thick wastewood block attached. The
new bowl's base disk and disks of padauk and blackwood are ready to be
glued to the faceplate.
|
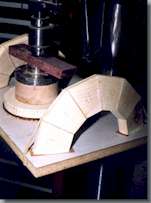
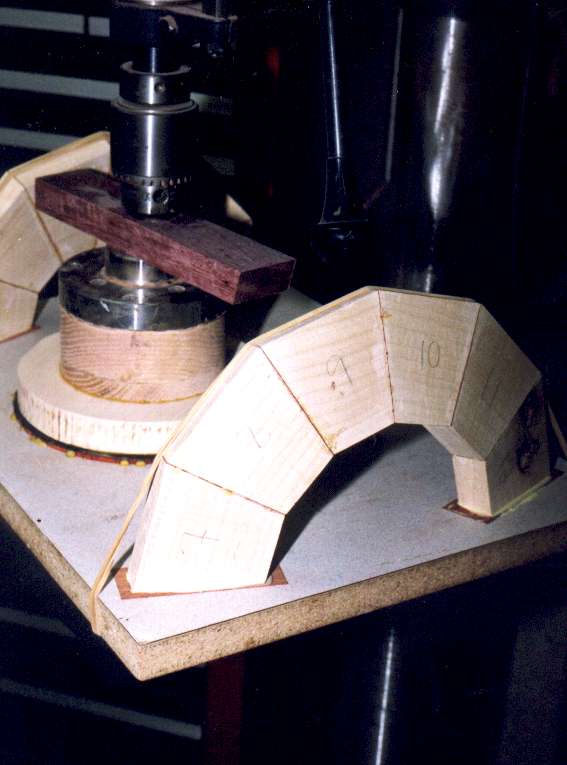
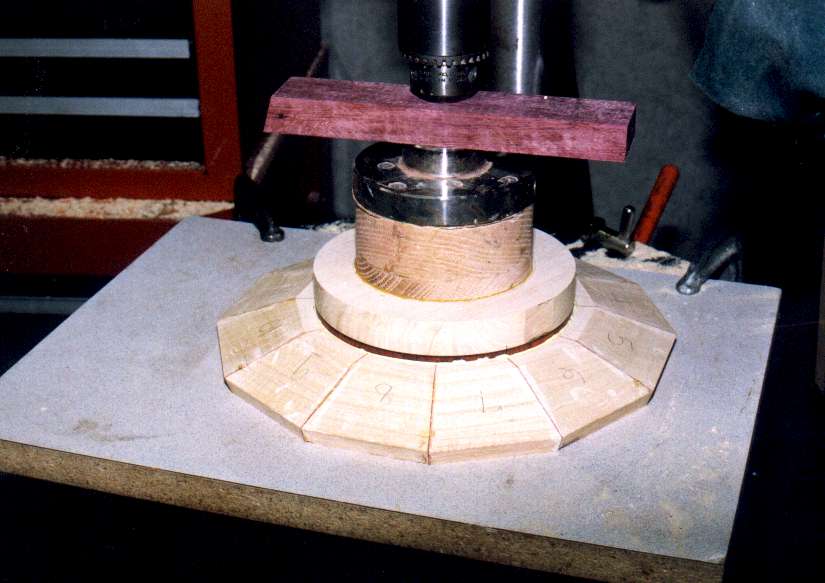
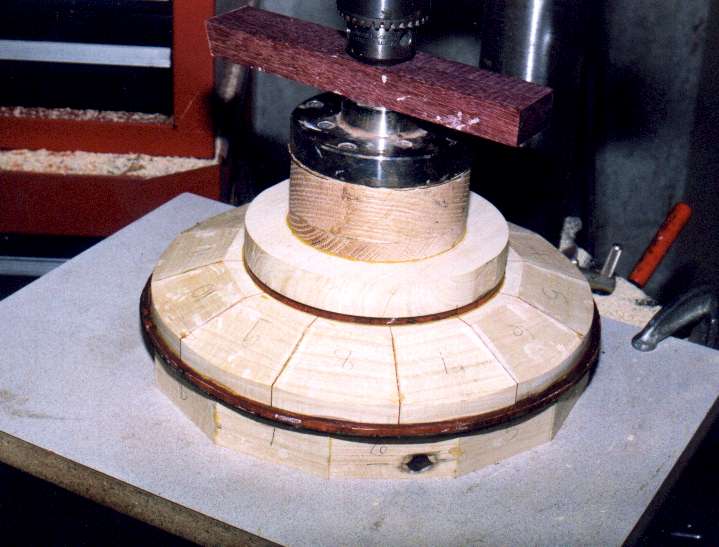
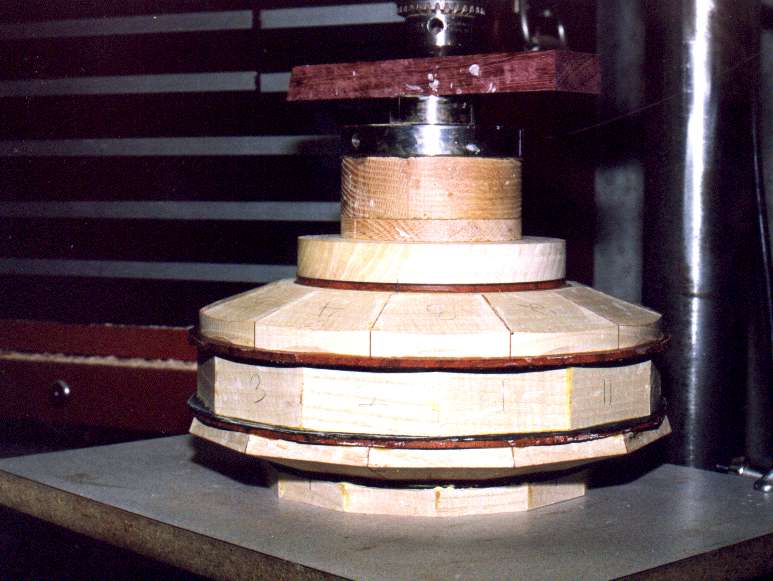
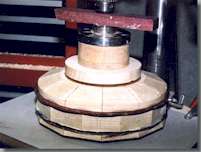
This photo shows the clamping setup (using my drill press) for
the faceplate and base disk. Also shown is how I rubber-band the
half-ring to the sink cutout to keep the veneer flat while the glue
dries.
|
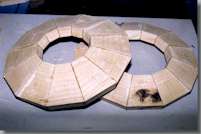
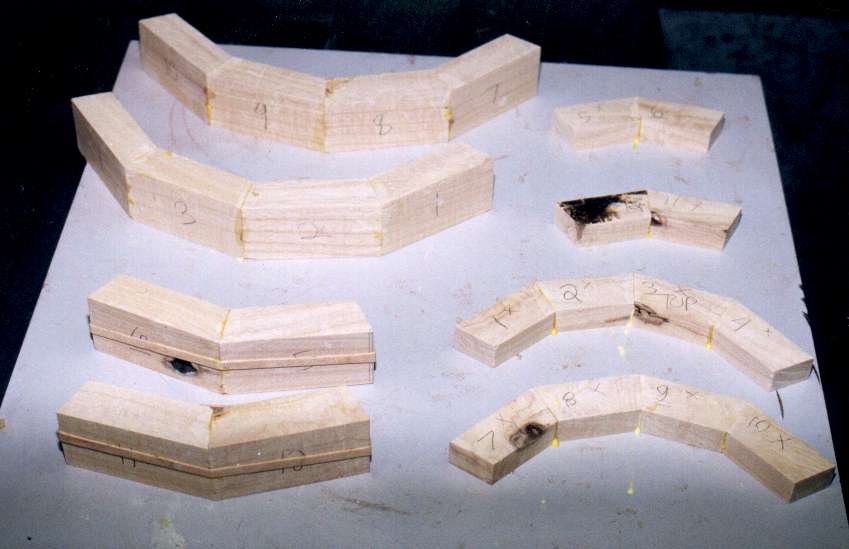
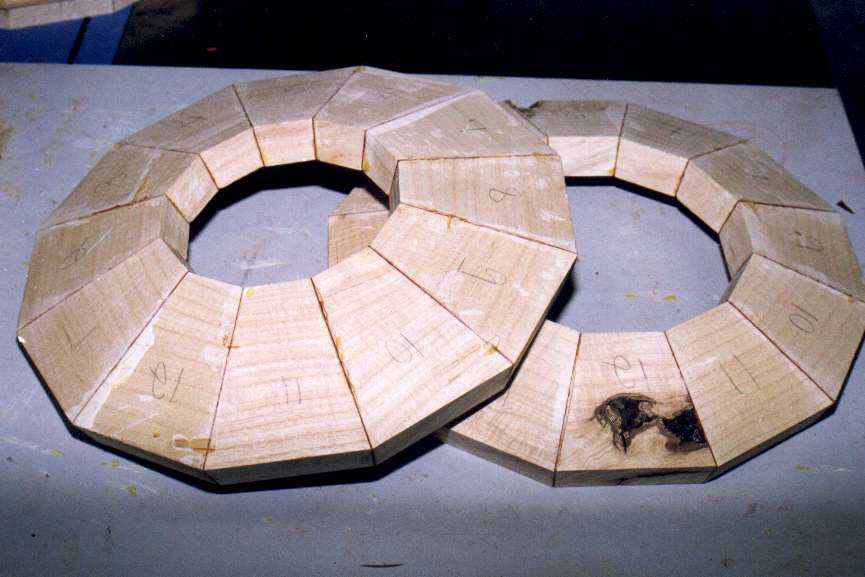
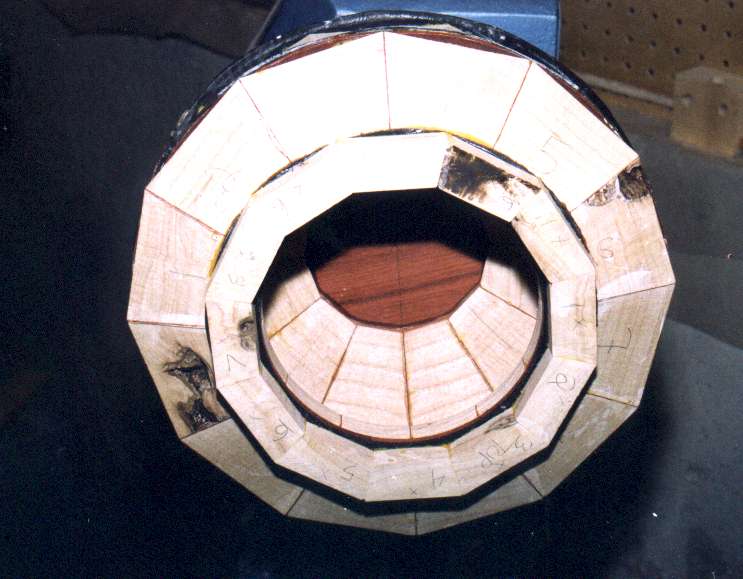
Here are the two completed compound mitered top and bottom
rings. The topmost ring will be the bowl's bottom ring. I pre-planned
the knot hole to be located on the top ring so it will be more visible.
I like wood to look like wood - knots are great!
|
I use a Wagner Safety Planer (from Woodcraft Supply) to
flatten the compound mitered rings. I have found this method to be the
safest of all the methods I've tried for flattening rings. It's also
very fast.
|
I usually flatten both sides of each compound mitered
ring with the safety planer.
|

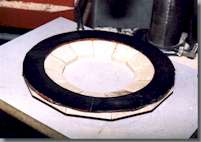
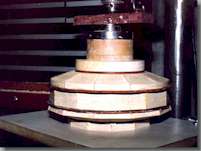
This is the clamping setup for gluing the rings together. I
don't put much downward pressure on the compound mitered rings. The
veneered joints aren't strong until the next ring is glued on, rotated
by 1/2 segment..
|
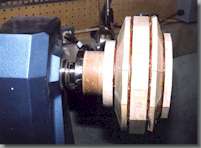
I put the assembly from the previous photo in my lathe to
flatten the face (true it up) and turn the perimeter round. I use the
rounded ring perimeter to help keep the next glued-on rings
concentric.
|
Veneer is being glued to the trued up compound-mitered bottom
ring. I make the veneer pieces in 1/4 circle arcs to save wood waste.
|

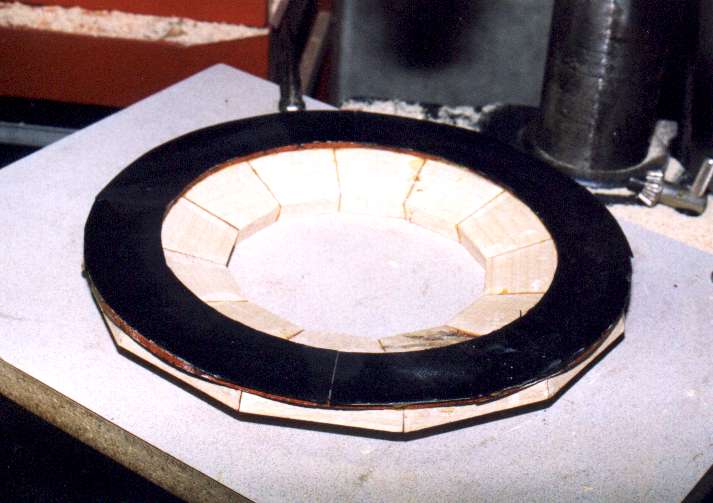
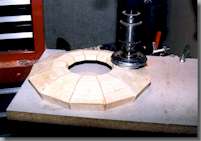
The veneer ring is finished . Now the central ring is being
glued onto the assembly. This knot hole will be hidden by the
ornamental banding.
|
Veneer is being glued to the flattened compound-mitered upper
ring. Again, I use the drill press to keep the veneer flat while the
glue dries.
|
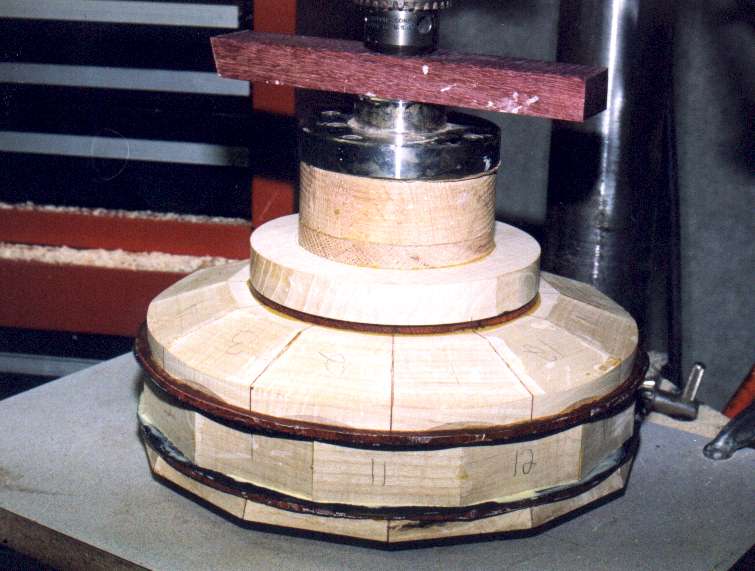
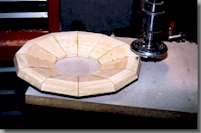
The compound-mitered top ring is now being glued to the
assembly.
|
The final veneer that goes between the compound-mitered top
ring and the lip ring is being glued into place.
|
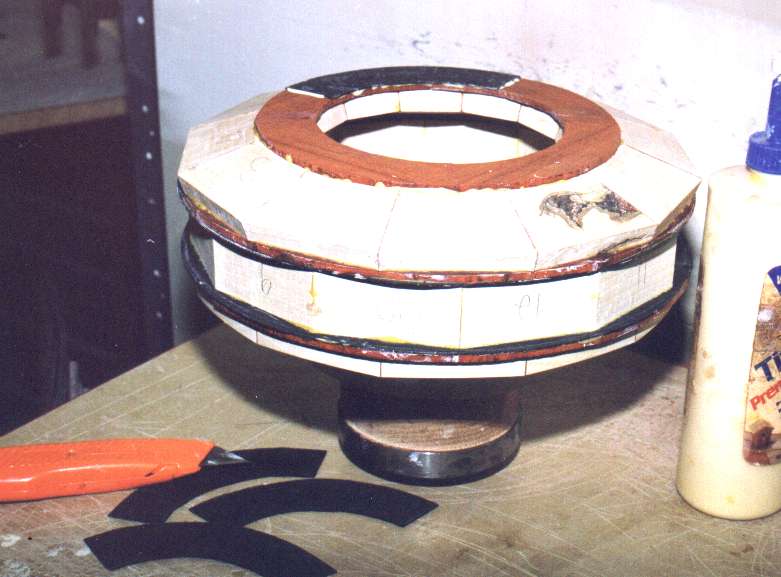
The lip ring is being glued into place. The bowl assembly is
now complete.
|
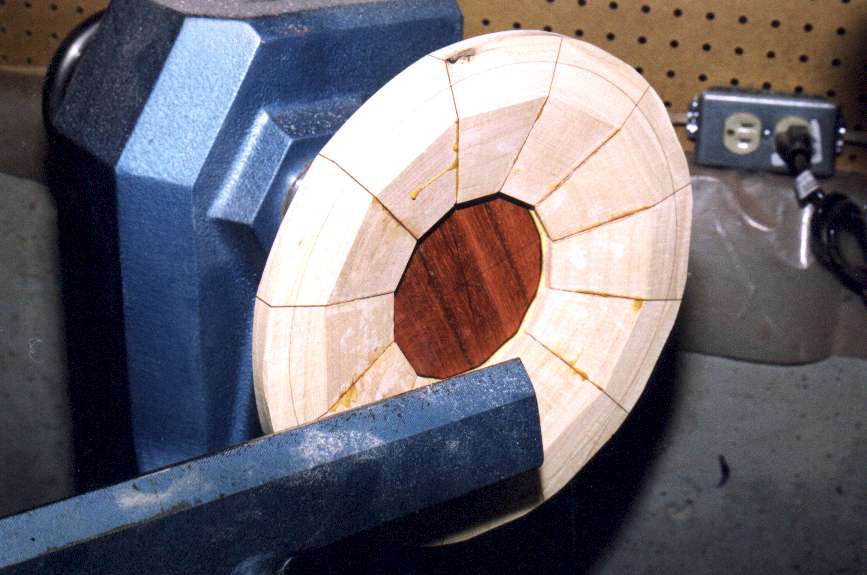
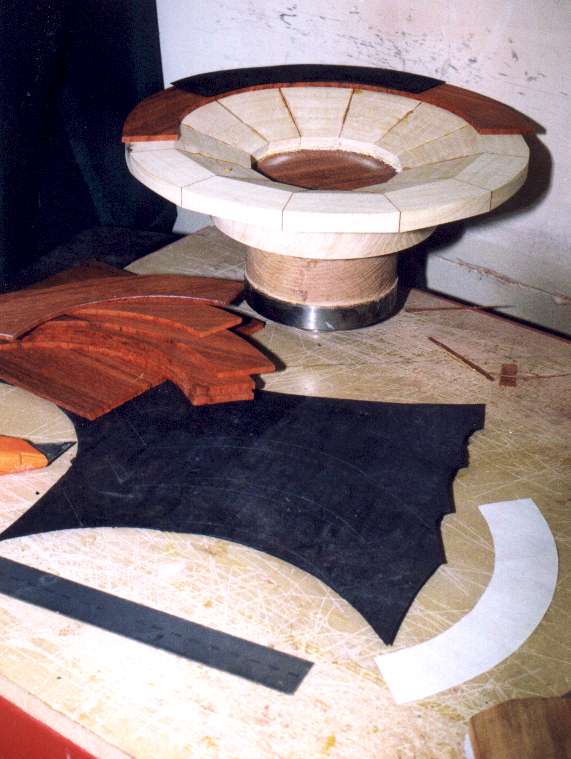
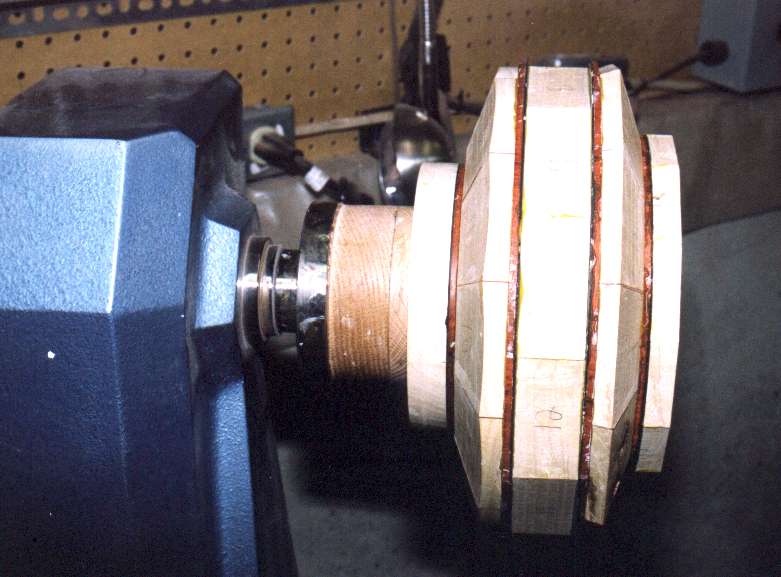
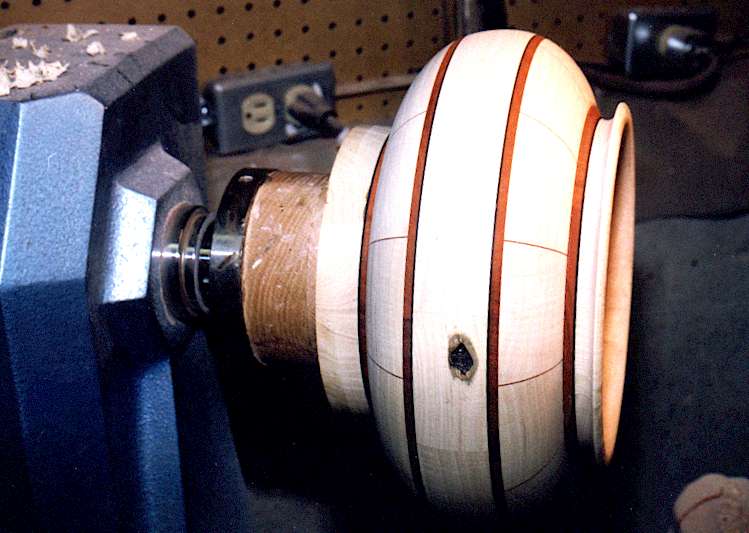
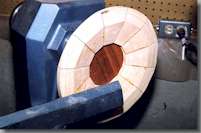
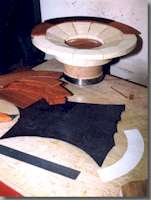
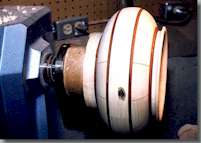
The complete assembly is on the lathe. Now it's time to round
it out.
|
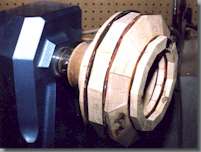
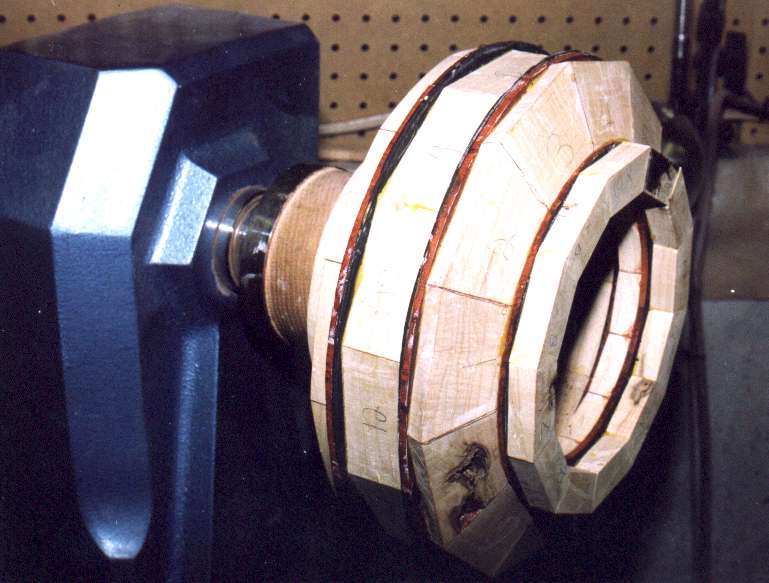
Another view of the same.
|
Still another view.
|
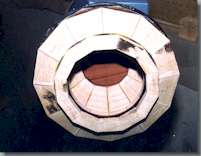
I have completely rounded the bowl. I round the outside, then
I round the inside. I cut extra material out of the inside to get my
desired thickness. I use gouges and skews on the outside. I generally
use a hollowing tool and several different kinds of scrapers on the
inside.
|
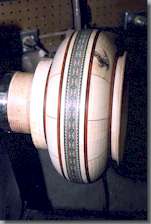
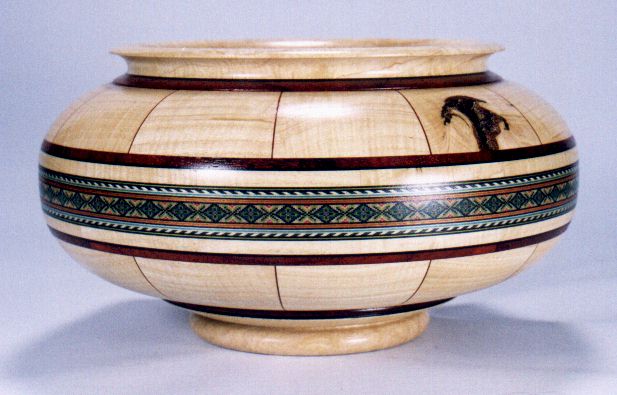
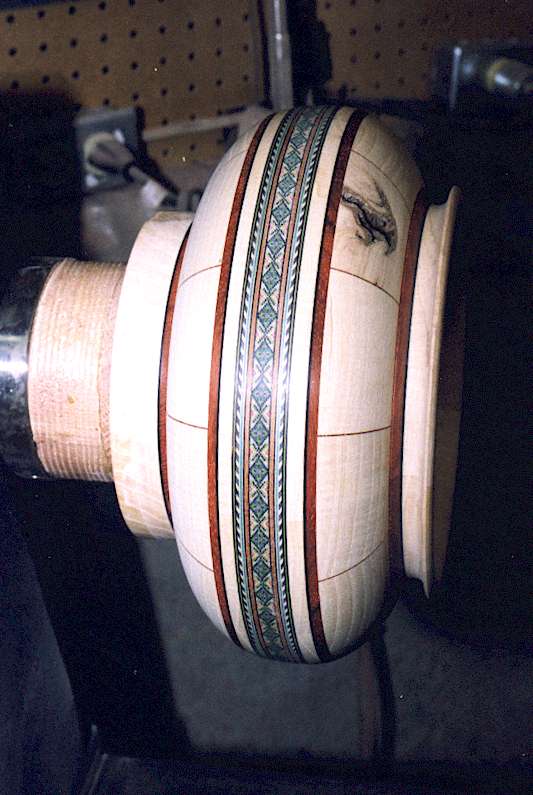
I have cut a shallow groove in the central ring and glued in
the veneer banding strip. I held the strip in place with rubber bands
while the glue dried.
|
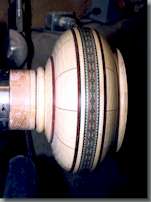
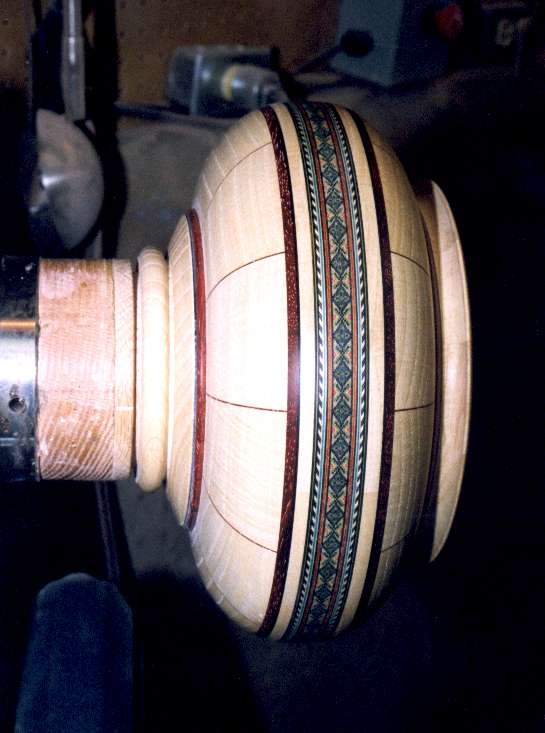
The final lathing of the base disk is now complete. The
outside surface of the bowl has been lightly sanded, then burnished
with a Scotch-brite pad. The next step is to part the bowl off the
lathe by cutting through the waste block on the faceplate.
|